
This section will get you up and running with BorinGS quickly. If you want to go through a more complete tutorial, please see the Tutorials sections.
When launched for the first time, you will see the "nag screen" that is shown when running the trial edition. Once registered this screen will no longer be displayed.
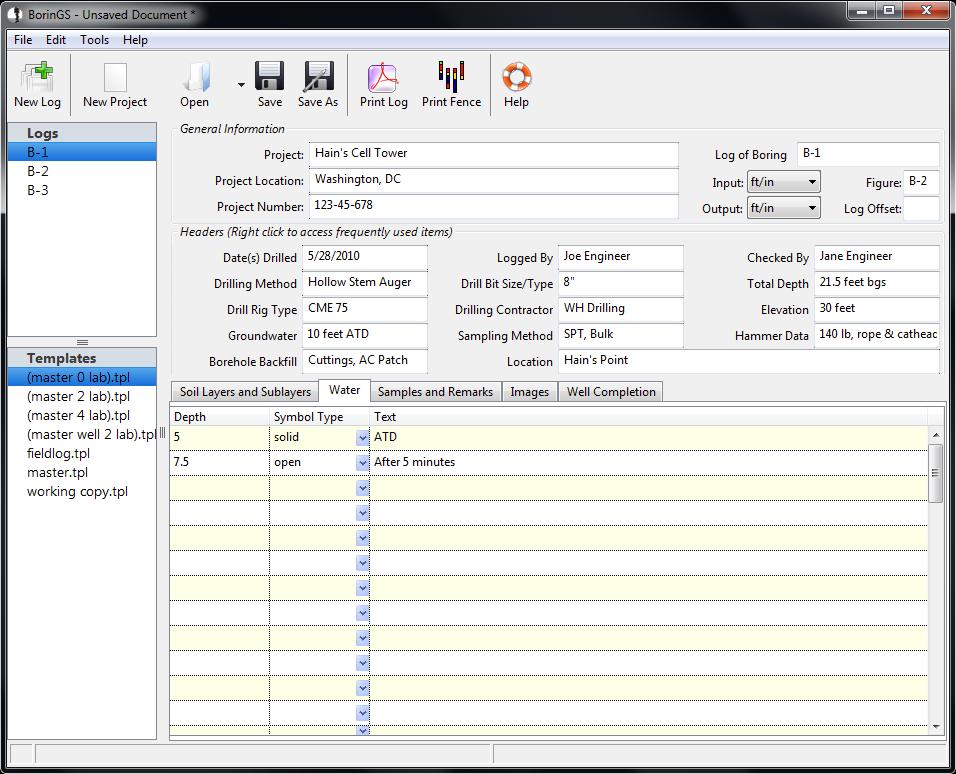
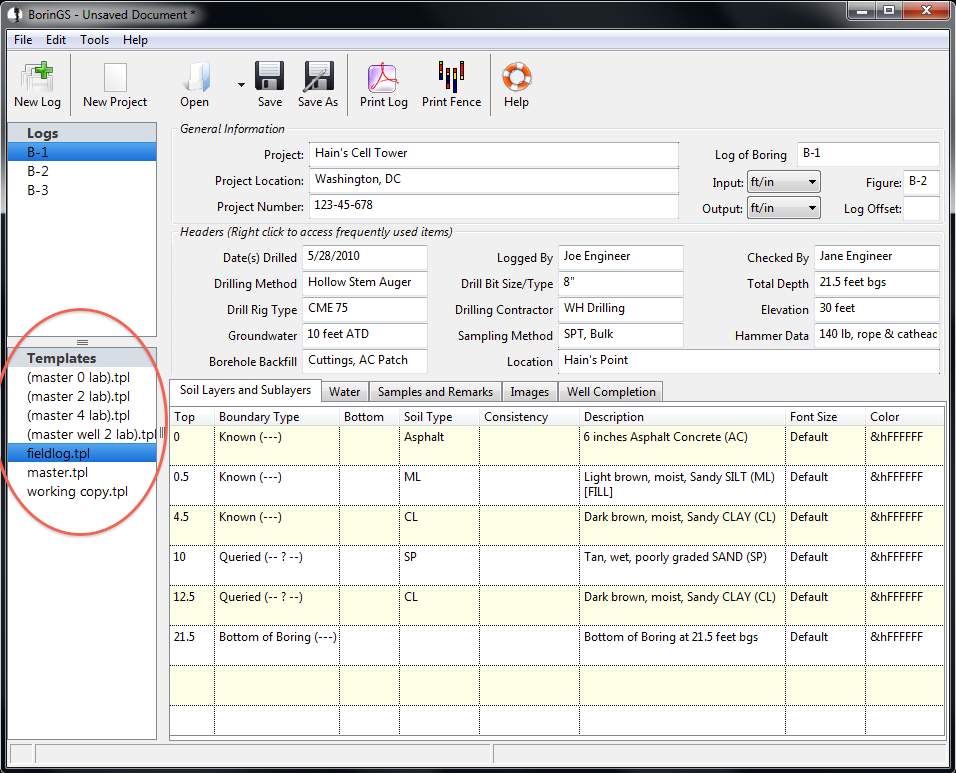
BorinGS automatically creates a new project when you launch it. To open an existing project, select "File-Open" or "File-Open Recent" from the main menu. You can also click the "Open" button on the toolbar. The main window of BorinGS displays the available logs in the open project, as well as the data for the current log being entered/updated. The interface has been designed to look similar to the printed output, in order to help visualize the output as you are entering data.
In the below screenshot, a sample data file has already been
loaded (to load this sample data, click Help-Load Sample Data).
In the upper portion of the main screen, enter the log designation
(for example, "B-1") and the input and output units. During the
printing process, if
the input and output units are different, BorinGS will convert depths
and print accordingly. Note that BorinGS only scales the depths,
and any text entered will be printed as-is.
Enter the Project Name, Project Number, and Project Location in the upper portion of the main screen. Directly below the project information, enter details such as the Date Drilled, Drilling Company, etc.
To help speed data input, right-click on any of the fields to access a "quickfill" list. In the below example, I right-clicked the "Drilling Method" input field and can select my preferred drilling methods.
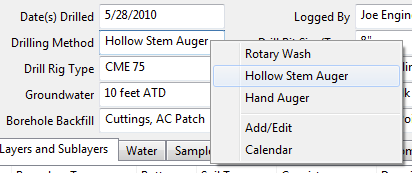
Each field has it's own quickfill list. To edit the list for each
field, right click the field and select
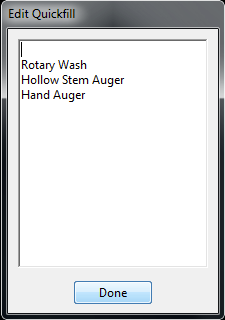
"Add/Edit" to bring up the editor (shown below). When you have finished
adding/deleting items, click "Done." The added entries will be
available in all logs, existing or new.
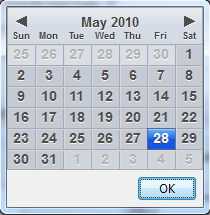
To enter a date, select "Calendar" from
the popup menu. The current date will be highlighted, or you can
select a different date.
To enter soil layers, select the "Soil Layers" tab at the bottom of the screen and click on the row you would like to enter/edit. The layer entry screen will be displayed for that layer.

Enter the appropriate depths, layer types (known, queried, etc.), and other information. The top depth and boundary type are required, but all other information is optional.
When entering the material type, you can either pull down the menu to select an item, or start typing in the box to view available material types, as shown below after typing "as" into the box (to display "Asphalt").

Select "Next" to edit/enter the next layer, or "Finished" when you are done.
Select the "Samples and Lab Data" tab and click on the row you would like to enter/edit. Enter sample-specific data here, as well as any remarks. All fields except the top depth are optional, so to enter just a remark at a given depth, leave the sample information blank and only enter a depth and the remark.
Laboratory test column types are defined in the output template. See the Customizing Templates section later in this guide for information on modifying the titles. Data can be entered at any time and the title may be changed later.

As with the layer entry, sampler types may be selected by using the pulldown list or by typing directly in the box. Matching entries will be displayed as you type (the example below shows entering "mod" to select "Modified California").

Select the "Water" tab and enter the water data. You can enter the depth, the water symbol type (filled triangle or hollow triangle), and the text (optional) to print next to the symbol. For example, if you encountered water at 5 feet during drilling, you would enter a depth of "5", whichever type of symbol you prefer, and a text of "ATD." Then, if the water stabilized 5 minutes later at a depth of 7.5 feet, you could enter a second depth of "7.5", the symbol type, and a text of "After 5 minutes."
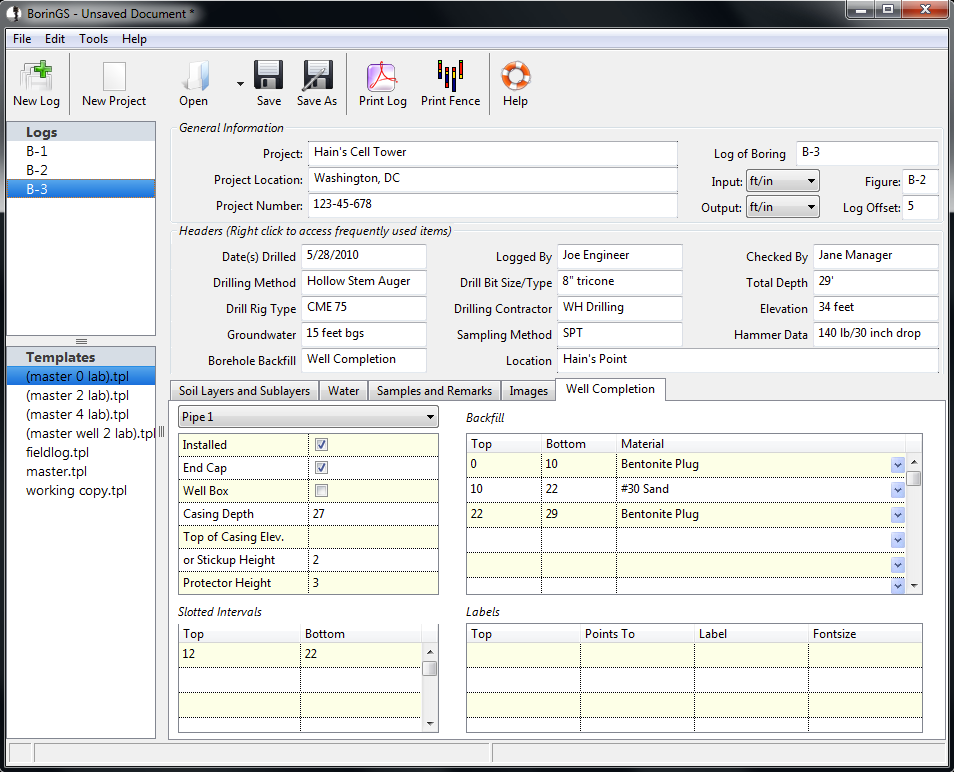
Select the "Well Completion" tab and enter the completion data for each installed pipe. Note that the backfill and labels are for the entire well, and do not need to be entered for each casing.
Along the left edge of the main window, below the list of available logs, is the list of available templates. After selecting the desired template, titles and column names will be updated.
Saving your data frequently is highly recommended. Click "File-Save" from the main menu, or the "Save" button on the toolbar. If you are entering a new file, you will be prompted for a location and filename for your new log. If you are editing an existing log, clicking Save will overwrite the existing file. To save to a new location/filename, click "Save As."
To generate the log, click the "Print" button on the toolbar.
This will generate your log and display it in your PDF reader. You can
either print or save a copy of the log from your PDF reader.